Garden State MLS
Newsletter Issue No. 29
5/13/2011
 New Profile Feature! 
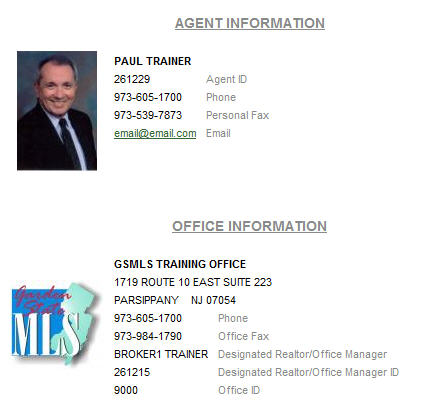
New Function: Photo/Logo on Member Roster Profile screen: It is now possible to have your photo/logo included in your Member Roster Profile. (Only the Broker/Admin can upload the company logo for the office.)
  • To upload Agent photo/Logo:
    • Main Menu > Resources > Edit My Profile > Manage My Banner
    • The Edit Image Resource screen will display.
    • Click on EDIT in the Toolbar.
    • The Edit Banner screen will display.
    • Click on BROWSE.
    • The Browse window will open.
    • Browse to the appropriate directory and photo file, select the photo file, and click on OPEN. (Only JPG, JPEG are accepted.)
    • Your photo/logo will appear.
    • Click PREVIEW BANNER in the Toolbar.
    • Verify the information and then be sure to click on SAVE in the Toolbar.
    • Then click on CLOSE.
  • To view your new member roster profile report:
    • Main Menu > Resources > Member Roster > enter your Agent ID > SEARCH > Click on your Agent ID.
    • Your new profile page will display, with the photo/logo:


CLICK HERE TO VIEW SLIDE PRESENTATION FOR MEMBER ROSTER PHOTO/LOGO.


 New Copy Image Feature! 
New Function: Copying images from one listing to another: Agents may now copy images from one of their existing listings into a new listing.
  • Once your new listing has been entered.
  • To copy images:
    • Main Menu > Agent Mgmt > View/Ed Agt Inv > Active Inventory
      1. Select your new listing from your inventory.
      2. Then select EDIT MEDIA from the Toolbar.
      3. Select COPY IMAGES from the Toolbar.
      4. Enter the ML# of your listing from which you would like to copy the images. (NOTE: Agents may only copy from their own listings.)
      5. Click on CONTINUE in the Toolbar.
      6. Then click on CONTINUE in the Toolbar to copy the displayed photos to your new listing.
      7. The photos will now be immediately attached to your new listing without GSMLS photo review.
    • Or, you may click on LOAD TOTAL INVENTORY in the Toolbar.
      1. Your Total Inventory will display.
      2. Select a property and click on CONTINUE in the Toolbar.
      3. Then follow steps 6 and 7 above.


CLICK HERE TO VIEW SLIDE PRESENTATION FOR COPYING IMAGES.


 Coming Soon: Email Banner Function! 
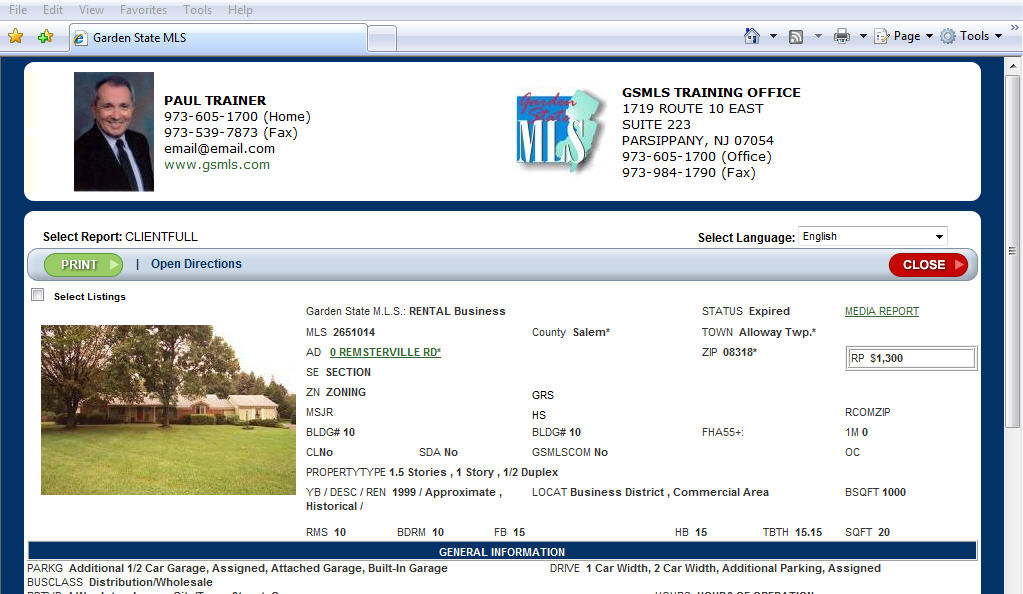
New Banner Function: for public email reports, agents will be provided with an opportunity to display agent photo, agent contact information, office logo, and office information at top of public reports sent through email.